The 2k trick - good looking video on every social platform
If you, like me, want your video work to look good on every platform then you’re going to want to optimise your work. Nobody wants to see a horizontal video at a tiny size in their instagram stories, so we’re just not going to subject people to that.
This trick was taught to me by the lovely Jon from Jist, and I’ve shared it with everyone who’s ever spoken to me about filming something since.
Basically, to have your footage look good everywhere at 1080p, you want to film in 2 or 4k. You don’t need an expensive camera to do this either - check your phones video settings, a lot of phones can film in very high quality these days. This might seem ridiculous and resplendent, but there’s a good reason for it.
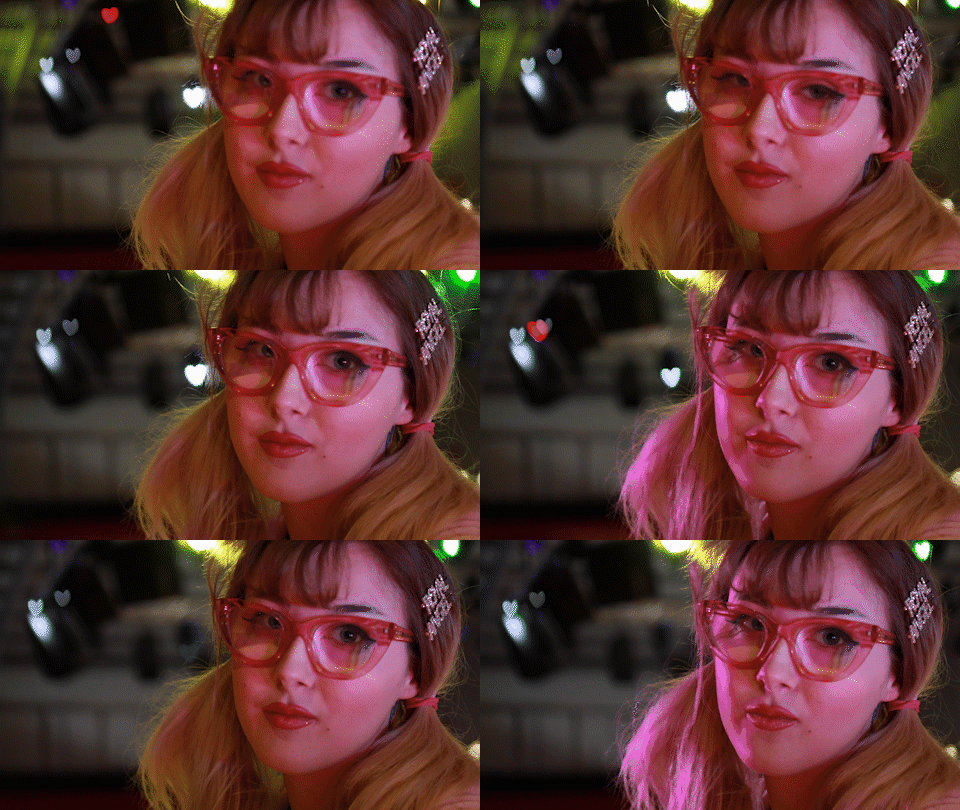
My demo piece for today is going to be this lovely piece of footage of my friend, regular model and muse; G. You’ll be seeing a lot of her in this post.
When you’ve got your footage, open Adobe Premiere Pro. Go to File> New > Project and select the option that matches your footage’s frame rate. In my case I filmed on a DSLR at at 30 frames per second, so I’ll choose DSLR1080p30f. Then you want to make 3 sequences.
Go to File > New > Sequence. The sizes you’ll want to create are:
1920 x 1080
1080 x 1080
1080 x 1920
If you accidentally forget to set your sequence size when you make the new sequence, you can change it any time by going to Sequence > Sequence settings. Import your footage , and drop it into whichever sequence you think will be your “main” sequence. For example, if you’re editing a video for YouTube but you want to show clips on instagram and insta stories then edit your footage in your 1920x1080 sequence. Today I’m just showing off a nice piece of footage I took, so I’m calling my “main” sequence my 1920x1080 shot for the sake of this blog post.
When you drop your imported footage into the editing timeline, you’ll get a warning. Like a fighter pilot in a very high budget action movie, you’ll want to ignore this warning.
Select keep existing settings. You can also turn this warning off, but I keep it on just in case.
Drop your footage in and you’ll see that it’s way bigger than the final size of your video. Size it down to however big you’d like it to be.
This trick is an exporting trick, but it also works to help with your editing. You can resize your footage to create zoomed in/further away shots that will make your piece a bit more visually interesting if you’re not able to use a 2-camera set up for your shoot.
Export it and you’ve got your first view. Easy. Now, copy and paste your footage over to your square sequence.
I didn’t like the way she looked when I imported her, so I re-sized the footage again and brought her face into the middle. Much better.
Do the same again for your vertical sequence. The great thing about having such large footage is that you’ll be able to scale it up and down to suit your various 1080p formats without losing the quality of the footage. If you had filmed in 1080, you’d have to stretch it to fit a vertical sequence and it would look gross and fuzzy.
When you’re done, export all your footage. I do not recommend adding subtitles - if you’re dealing with speech - inside Premiere Pro. It’s an absolute pain and will only end in tears. Download Submerge and apply your subtitles to your finished export. When exporting for YouTube, a normal export is just fine. But, when you’re exporting in GIF format so that you can add clips to your website and impress your friends, you’ll need to make a lot of changes to your export settings. You can throw your footage into Media Encoder and test out what works best, but I find tiny size (about 300px?), small frame rate and sacrificing a little bit of quality gets you a GIF that won’t destroy your page loading times.


